Selecting the right diamond blade is crucial for several reasons, and it can significantly impact the efficiency, cost-effectiveness, and overall success of the project. Taking the time to understand the specific requirements of your project and choosing the appropriate diamond blade can make a significant difference in overall project success.
1. What Material Are You Cutting?
The first step in selecting a diamond blade is understanding what material you’ll be cutting. It is most important to correctly identify the material you are going to cut prior to choosing a Diamond Blade. This has a major effect on the cutting speed and life of the Diamond Blade.
Most materials fall into four categories: Hard, Medium to Hard, Medium to Soft and Soft.
The harder the material being cut, the softer the bond holding the diamonds needs to be. This allows the bond to wear and exposes the diamonds to cut the product and releases the diamond before it glazes over and makes the blade useless.
Conversely, when cutting soft materials, it is important to have a strong, hard bond that holds the diamond segments and increases the life of the blade.
Many people choose the hardest blade and believe it will cut everything. This is a false belief as hard bonded blades will not cut hard products!
As a general rule, determine the material which will be cut most often, or the material for which blade performance is most important.
If a blade is to be used to cut more than one material (for example, asphalt and concrete) determine which material will be cut the most often and buy a blade suitable for that material.
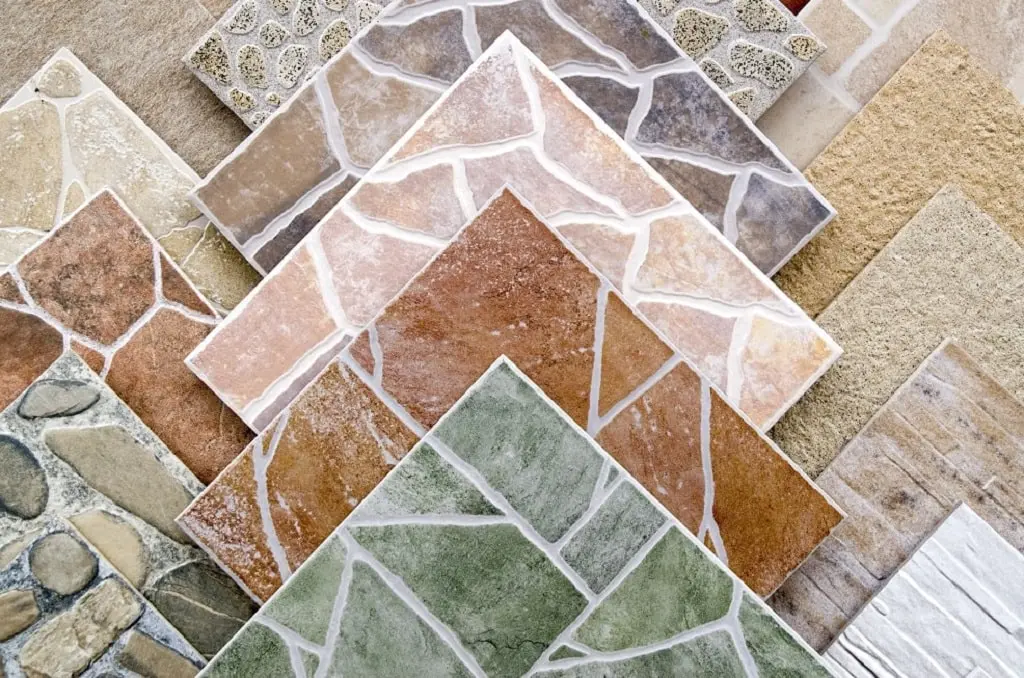
Tile

Marble
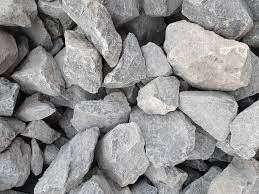
Stone
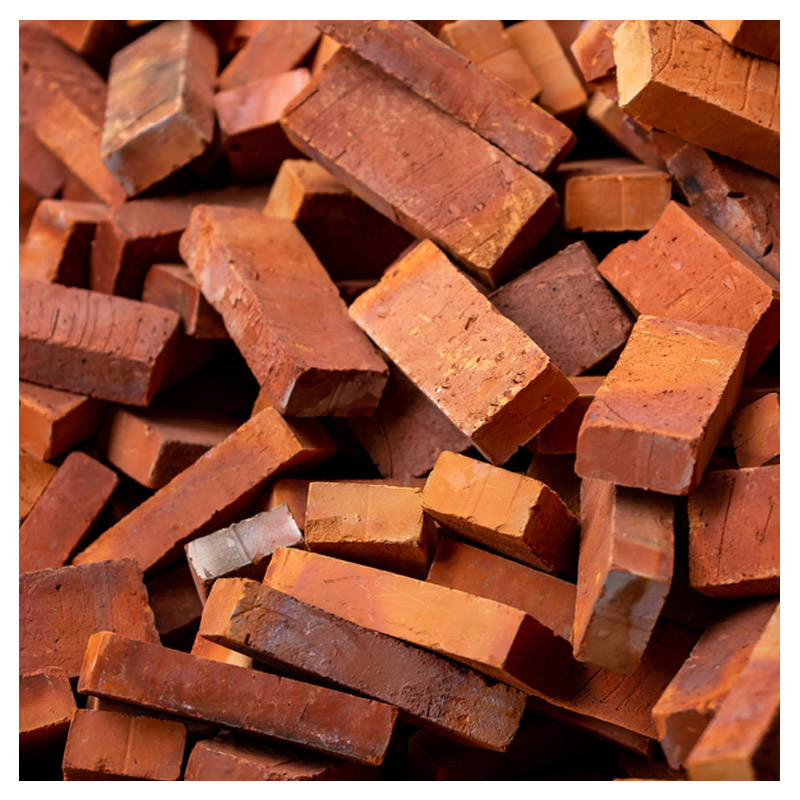
Brick
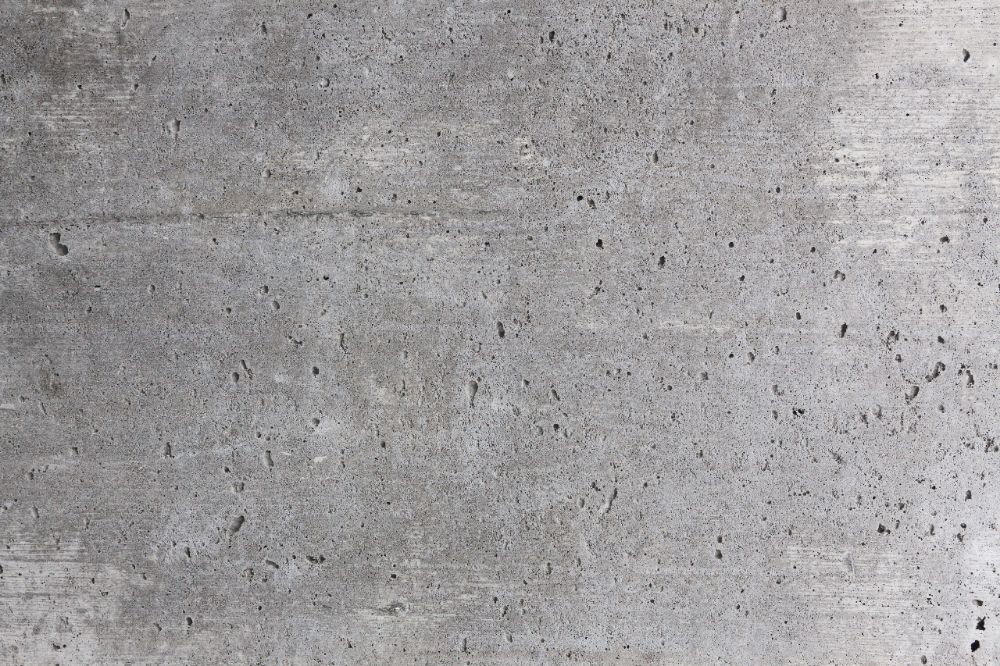
Concrete
2. Wet vs. Dry Cutting: Which Method to Use?
Diamond blades can be used for both wet and dry cutting. Knowing when to use each method is important for optimizing your tools and your results.
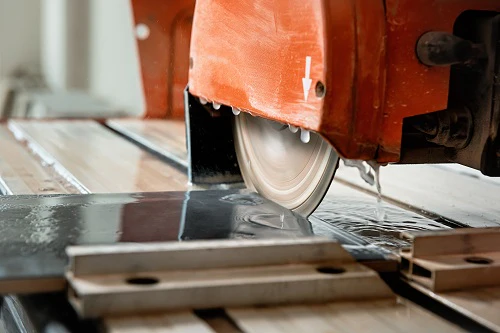
– Wet cutting: This method uses water to cool the blade and reduce dust. It’s ideal for jobs where heat generation and dust control are concerns, such as large projects involving concrete or masonry. Wet cutting can extend the life of your blade.
– Dry cutting: Dry cutting is more convenient for smaller jobs or when water isn’t available. However, the blade may overheat if used for long periods, so shorter, intermittent cuts are recommended.
Pro tip: If you’re unsure, wet cutting is generally the safer and more efficient choice.


3. Consider the Blade Size
Diamond blades come in a variety of sizes. Common sizes range from 4” for smaller, hand-held grinders to 14” for walk-behind saws used on large concrete slabs. Make sure you choose a blade size that is compatible with your cutting tool.
Here are some popular size recommendations:
– 4”-5” blades: Best for small tile or stone cuts.
– 7”-10” blades: Ideal for medium-sized projects like paver cutting.
– 12”-14” blades: Perfect for heavy-duty jobs like cutting concrete slabs or asphalt roads.
Remember: The blade size will also affect the depth of the cut, so choose accordingly.
4. What Equipment Are You Using?
Understand that the horsepower you are cutting with impacts the productivity and longevity of your diamond blade. The size of the blade should match the saw’s maximum horsepower. Cutting with a saw that runs too fast can cause the diamond blade to glaze over and get too hot. Cutting with a saw that runs too slow greatly affects the productivity and effectiveness of your diamond blade.
5. Types of Blades
Segmented blades
Segmented blades have wider gullets (space between the segments) to help cool the blade and extract dust. They also helo prevent cracks developing when used in tough conditions.
This style of blade offers the fastest cutting speed, but are the roughest cut, with some chipping. The more abrasive material you are cutting, the wider the slot can be.
Segmented blades with narrow slots are generally for marble and granite, while keyhole shaped slot blades tend to be for general purpose.
These blades are usually in medium to hard bonds, and are durable with a long life.
Segmented blades are ideal for marble or granite slabs, concrete, reinforced concrete, asphalt and all building materials.
They are available from us in a wide range of diameters and particularly dominate the 12″/350mm diameter and larger market. These blades are commonly used with masonry saws, concrete saws, and circular saws.
Continuous rim blades
Continuous rim blades produce a good quality finish and longer life rather than segmented blades. They are used for wet cutting to cool down the blade and flush out debris and prevent dust. They generally have softer bonds for cutting hard materials such as tile, porcelain, granite, stone, glass, and other materials that can chip easily. The flat, continuous edge means there are no shocks against the material that could create chips in the cut edge. This type of blade is particularly suitable for tiles that need a perfect finish.
These blades are most commonly available in 4″/100mm to 14″/350mm diameters. The smaller, 4″/100mm to 5″/125mm diameter blades are often used in hand-held grinders, while the larger sizes are often used with circular saws and tile saws.
The J slot design is a variation of the continuous rim blade. It has “J” shaped slots around the edge of the blade to help dissipate heat for increased durability, extended blade life, and faster cutting speeds.
Turbo blades
Turbo blades suit have softer bonds, so suit extremely hard materials, as they are more aggressive. Turbo blades feature a continuous rim with an edge that is serrated. This corrugated continuous rim gives smaller shocks to the workpiece when tackling the hardest tiles and building materials.
These blades are typically available in sizes that range from 4″/100mm to 12″/300mm diameters. They can be used in grinders, circular saws, and tile saws to cut a variety of materials including tiles, stone, marble, granite, masonry, and other hard building materials.
Final Tip For Diamond Blade Production
1) Use a wet blade only when wet cutting
2) Don’t bury the blade, let the saw cut by itself.
3) Make sure the blade is installed correctly

